Gel electrophoresis system
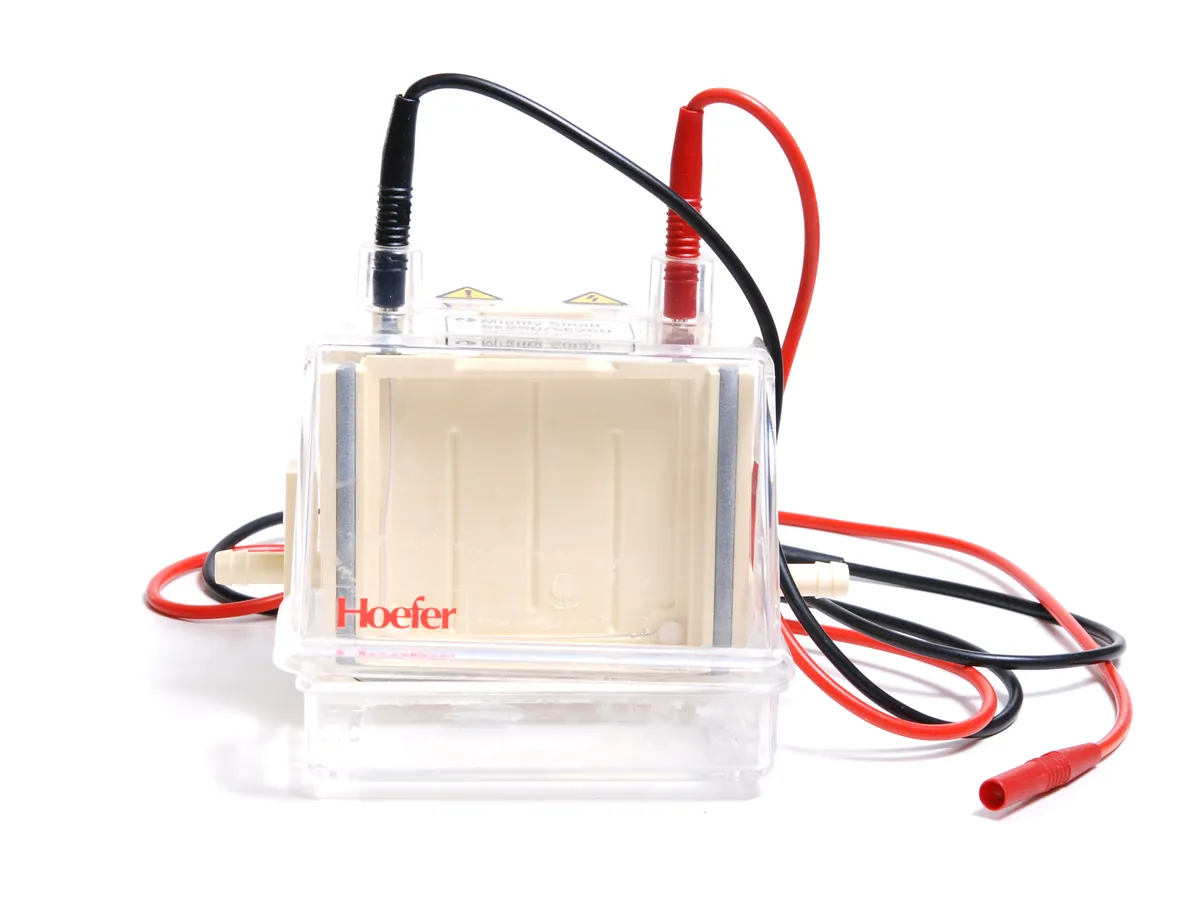
A tank with buffer and electrodes, a gel and a DC power supply. Charged molecules such as proteins or DNA move through the gel in the electric field and separate by size, then are stained and imaged.
- Biotechnology
- Biopharmaceutical
- Academic research
- Diagnostics development
- Food (protein profiling)
- Vaccines
What is Gel electrophoresis?
Gel electrophoresis separates charged molecules by how fast they move through a gel in an electric field. Proteins are usually run on vertical polyacrylamide gels (SDS-PAGE), where the detergent SDS gives them a uniform negative charge so they separate by size. DNA is run on horizontal agarose gels; its phosphate backbone is already negatively charged.
A system has a gel tank with platinum electrodes, a buffer, a gel cassette or casting tray, and a DC power supply that sets constant voltage, current or power. After the run the gel is stained (Coomassie, silver or fluorescent stains for protein; DNA dyes for nucleic acids) and photographed with a gel imager. Band position against a molecular weight marker gives size; band intensity gives a semi-quantitative amount.
In biologics QC, SDS-PAGE under reducing and non-reducing conditions checks purity, identity and fragments of proteins, and agarose gels check plasmid and PCR products. Many labs now use capillary electrophoresis for quantitative work, but slab gels remain common because they are simple, cheap and show the whole sample at a glance.
Used for
- Purity and identity of proteins by SDS-PAGE (reducing and non-reducing)
- Molecular weight estimation against a marker
- Plasmid, PCR product and DNA fragment size checks on agarose gels
- Western blot (transfer of proteins to a membrane for antibody detection)
- Native PAGE and isoelectric focusing gels for charge and conformation
- Process development: following purification steps and fractions
How it works
- 01
Prepare gel and buffer
Cast or buy a gel of suitable percentage; fill the tank with running buffer.
- 02
Prepare samples
Mix samples with loading buffer (with SDS and reducing agent for reducing SDS-PAGE) and heat as the method says.
- 03
Load
Load samples, a molecular weight marker and any reference standard into the wells.
- 04
Run
Apply constant voltage (or current) until the dye front nears the bottom of the gel.
- 05
Stain and image
Stain the gel, destain if needed and capture an image with a gel documentation system.
- 06
Evaluate
Compare band pattern with the reference; estimate size from the marker and, if required, quantify bands by densitometry.
Advantages
- Simple and low-cost; many samples on one gel
- Shows the whole sample visually, including unexpected bands
- Wide range of stains with different sensitivity
- Flexible: gel percentage and buffer can be chosen for the size range
Limitations
- Mostly semi-quantitative; densitometry precision is lower than chromatography or CE
- Manual and slow (run, stain, destain and image take hours)
- Gel-to-gel variation in band position and intensity
- Acrylamide monomer is toxic; some stains are hazardous
- Results depend on the imaging system and staining time
1 calibration procedure
Methods that use Gel electrophoresis
Keep every Gel electrophoresis in control: usage logs, calibration and maintenance schedules, and automatic blocking of overdue instruments.