Bioanalytical
Microplate reader
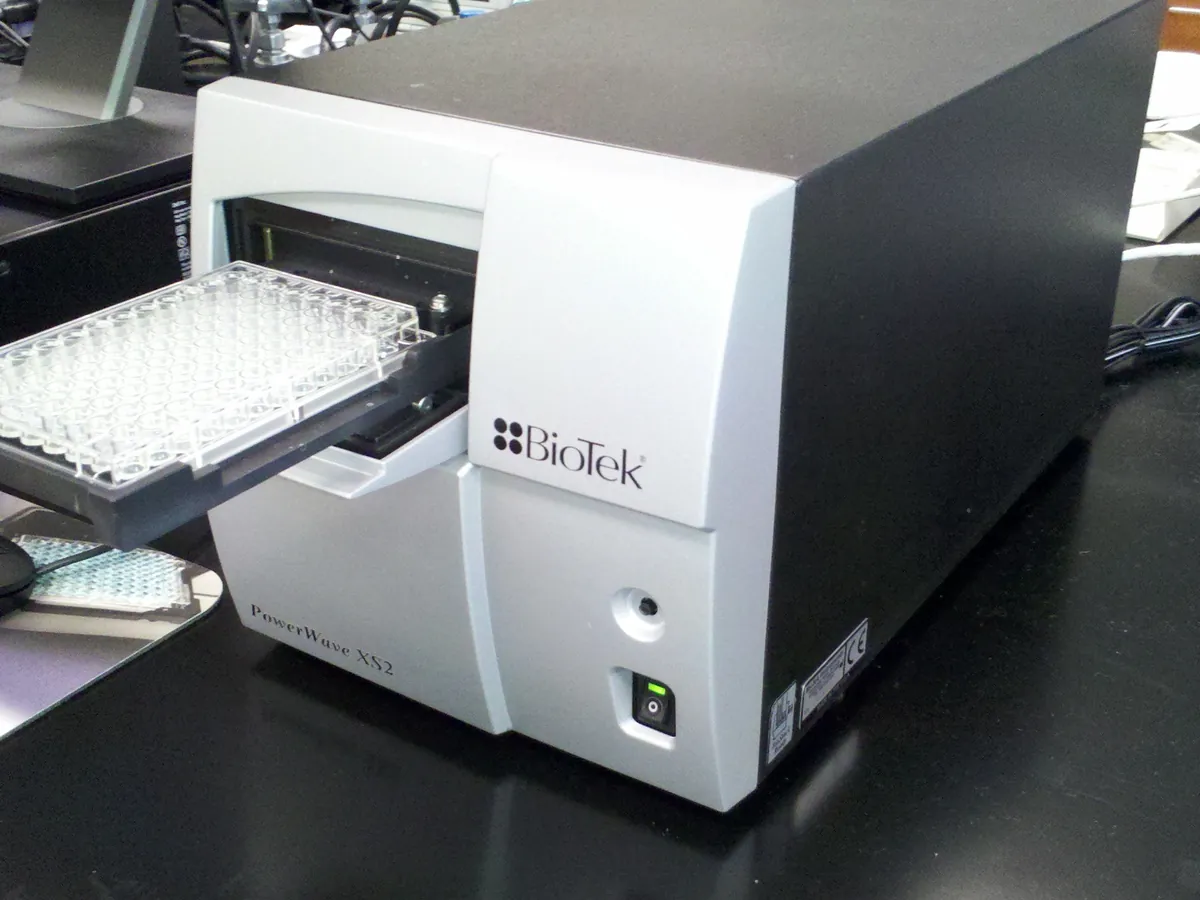
Measures absorbance, fluorescence or luminescence in the wells of 96- or 384-well plates. It is the read-out instrument for ELISA, protein assays, cell-based assays and enzyme kinetics.
- Biotechnology
- Biopharmaceutical
- Clinical research
- Academic research
- Food (allergen ELISA)
- Environmental (toxicity assays)
Follow your site SOP
This is a typical operating sequence for learning. Your instrument model and approved SOP take precedence.
STAGE 1
Before you start
- 1Check the reader is within its calibration (absorbance, linearity, wavelength) due date.
- 2Switch on and allow the lamp and incubator (if used) to stabilise as the manual says.
- 3Select or open the validated protocol; check wavelengths, read mode, shaking and plate type.
- Use the plate type the protocol was validated with (clear flat-bottom for absorbance, black for fluorescence, white for luminescence).
STAGE 2
Reading
- 1Wipe the plate bottom and check for bubbles; pop bubbles with a clean needle or brief centrifugation.
- 2Remove the plate lid or seal unless the protocol says otherwise.
- 3Load the plate with well A1 in the correct position.
- 4Start the read and check the raw data for out-of-range or flagged wells.
- Do not read plates with liquid on the outside; spills can enter the optics.
STAGE 3
Data review
- 1Confirm blanks, standards and controls meet the method criteria.
- 2Check the curve fit (r² or goodness-of-fit, back-calculated standards).
- 3Export or save results with the raw data and audit trail.
STAGE 4
Shutdown
- 1Remove the plate and close the carrier.
- 2Wipe any spills from the carrier with a lint-free cloth.
- 3Complete the logbook.
In LimsPulse · Calibration Management
Keep every Plate reader in control: usage logs, calibration and maintenance schedules, and automatic blocking of overdue instruments.