Materials & polymer testing
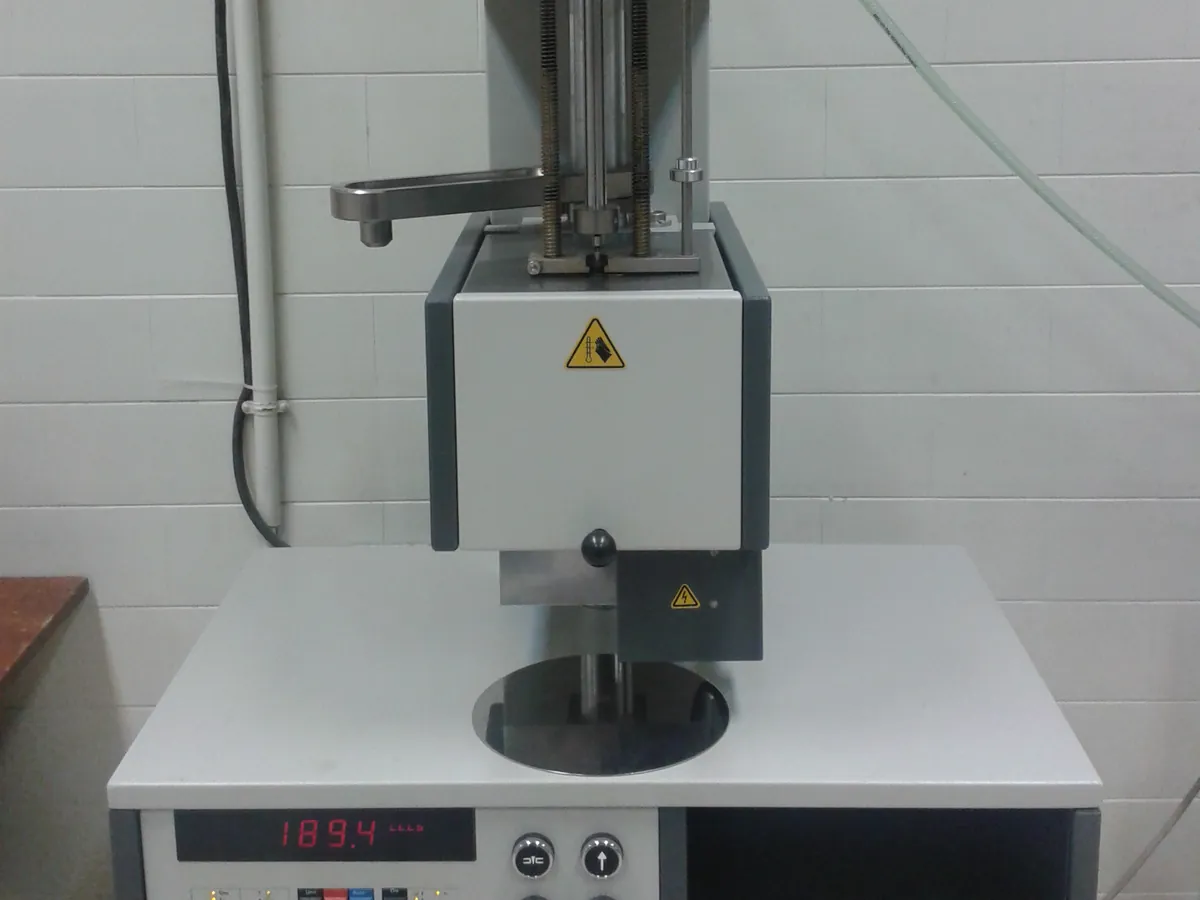
Melt flow indexer
Melts a thermoplastic in a heated barrel and pushes it through a small standard die under a fixed weight. The mass (or volume) of polymer that flows out in 10 minutes is the melt flow rate, a quick measure of how easily the polymer flows.
- Polymers & plastics
- Packaging
- Pipes & fittings
- Automotive
- Recycling
- Chemicals
Follow your site SOP
This is a typical operating sequence for learning. Your instrument model and approved SOP take precedence.
STAGE 1
Before you start
- 1Check the instrument is within its calibration due date for temperature, load and die dimensions.
- 2Select the test condition (temperature and load) from the material specification or ISO 1133 / ASTM D1238.
- 3Dry hygroscopic polymers (for example PET, PA, PC) as the material standard or supplier advises.
- 4Switch on and allow the barrel to stabilise at the test temperature, typically for at least 15 minutes.
- The barrel, die and piston are at 190–300 °C. Use heat-resistant gloves and tongs.
STAGE 2
Charging and preheat
- 1Weigh the charge (typically 4–8 g, depending on the expected MFR) as the standard advises.
- 2Pour the granules into the barrel through a funnel in one go and compact with the packing rod.
- 3Insert the piston and start the preheat timer (typically 5 minutes from the end of charging).
- 4If the MFR is high, a support or small weight may be used to stop premature flow during preheat.
- Charge within the time stated in the standard; slow charging lets the first granules degrade.
STAGE 3
Measurement
- 1At the end of the preheat, add the test weight and let the piston descend.
- 2Discard the extrudate until the lower reference mark on the piston reaches the top of the barrel.
- 3Take cut-offs at fixed time intervals chosen so each cut-off is a convenient length (often 10–20 mm).
- 4Stop measuring when the upper reference mark is reached; discard cut-offs with bubbles.
- 5Weigh at least three cut-offs to 1 mg once cool, and calculate the MFR.
- Cut-off masses should agree closely; a trend up or down suggests degradation or a temperature problem.
STAGE 4
Cleaning and shutdown
- 1Push out the remaining melt while still hot.
- 2Remove the die and clean it with the die drill; clean the barrel with cotton patches on the cleaning rod.
- 3Clean the piston while hot with a soft cloth; do not scratch the bore or piston.
- 4Record results, the condition used and any observations in the log.
- Never use abrasive cloths or steel brushes inside the barrel or die bore.
In LimsPulse · Calibration Management
Keep every MFI tester in control: usage logs, calibration and maintenance schedules, and automatic blocking of overdue instruments.