Petroleum testing
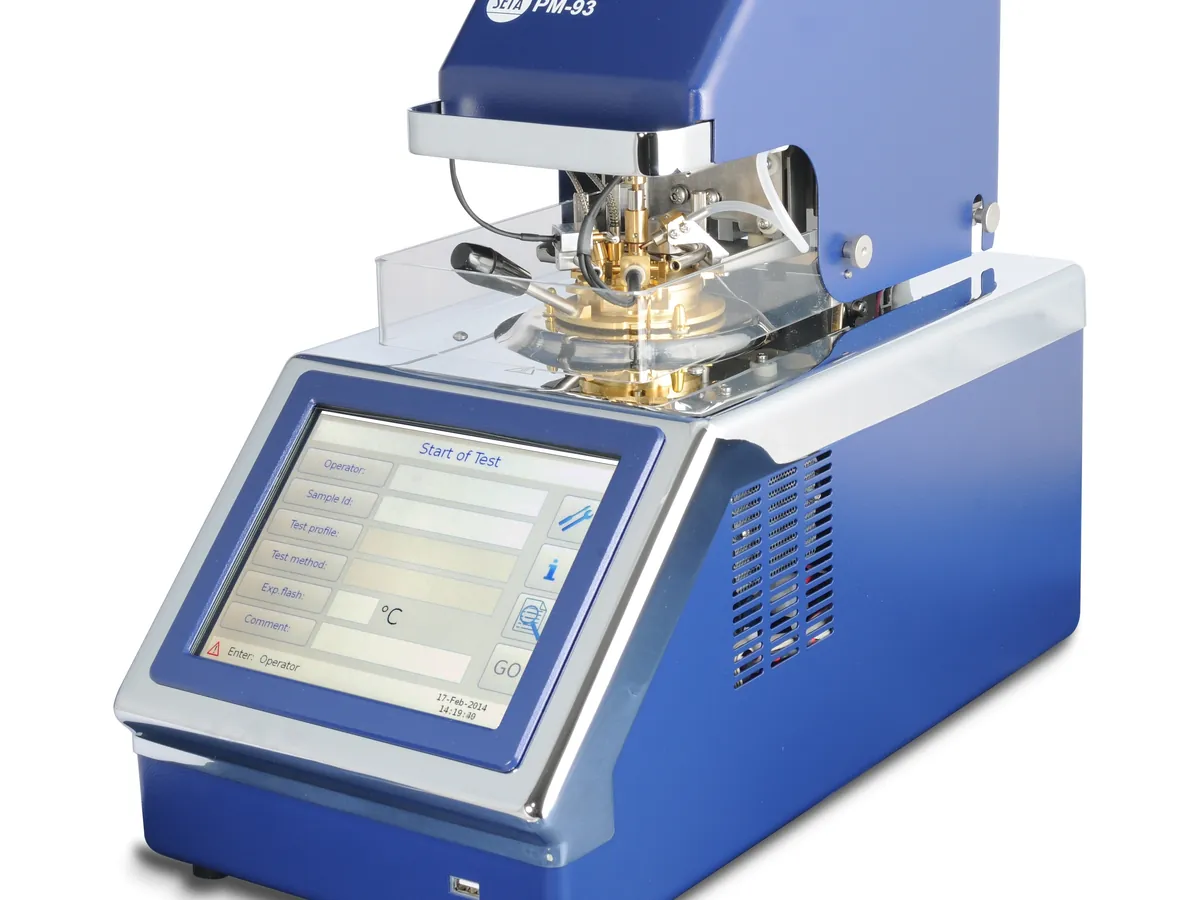
Flash Point Tester (Pensky-Martens Closed Cup)
Heats a fuel or oil in a closed brass cup while stirring and dips a small flame or electric igniter into the vapour space at set intervals. The lowest temperature at which the vapour flashes is the flash point, a key safety and quality property.
- Petroleum refining
- Fuel terminals and depots
- Lubricant blending
- Marine fuel testing
- Biodiesel production
- Power utilities (transformer oil)
- Independent testing laboratories
Follow your site SOP
This is a typical operating sequence for learning. Your instrument model and approved SOP take precedence.
STAGE 1
Before you start
- 1Place the tester in a draught-free spot, inside a hood with the extraction off during the test or behind a draught shield, so that air currents do not blow the vapour away.
- 2Check the calibration status, the barometer reading and that the cup, lid and stirrer are clean and dry.
- 3Check the gas supply for leaks (soapy water, never a flame) or the electric igniter for function.
- 4Keep the sample sealed and cool. Do not open the container until it is well below the expected flash point (use the margin given in the current D93).
- 5Have a suitable fire extinguisher (CO₂ or dry powder) and a fire blanket within reach.
- Never fill or open a sample container near a hot surface or an ignition source.
- Samples containing water must be dried or treated as the method describes; water can make the sample foam over.
STAGE 2
Setting up
- 1Select the procedure: A for distillate fuels and clean lubricating oils, B for residual fuels, used oils and samples that form a skin, C for biodiesel.
- 2Enter the expected flash point. If it is unknown, run a screening test first and then a definitive test on a fresh portion.
- 3Mix the sample gently and fill the cup to the mark, avoiding splashes on the cup wall above the mark.
- 4Fit the lid, insert the temperature sensor and connect the stirrer; place the cup in the heater.
- Overfilling or wetting the lid gives early, low flashes; empty, clean and refill if this happens.
STAGE 3
Testing
- 1Start the run. The tester heats at the procedure rate and stirs continuously except when the ignition source is applied.
- 2From about 23 ± 5 °C below the expected flash point, the ignition source is applied at every 1 °C (expected flash point up to 110 °C) or every 2 °C (above 110 °C).
- 3Record the temperature at which a distinct flash first appears; a blue halo around the flame is not a flash.
- 4If the flash occurs at the first application, abort and repeat with a fresh portion at a lower expected flash point.
- 5Read and record the barometric pressure at the time of the test.
- Keep hands and face away from the lid openings when the ignition source is applied.
- If the sample keeps burning, close the lid or let the suppression system act; cut the heater and gas. Do not use water.
STAGE 4
After testing
- 1Let the cup cool before removing it; it may be well above 100 °C.
- 2Dispose of the hot sample into a closed, labelled waste container once it has cooled.
- 3Clean the cup, lid, shutter and stirrer with a suitable solvent, then dry completely so no solvent remains.
- 4Correct the result to 101.3 kPa (if the instrument has not already done so), round to 0.5 °C and record it with the procedure used.
- Solvent left in the cup will flash early in the next test; always dry the cup fully.
In LimsPulse · Calibration Management
Keep every PMCC tester in control: usage logs, calibration and maintenance schedules, and automatic blocking of overdue instruments.