Dosage-form testing
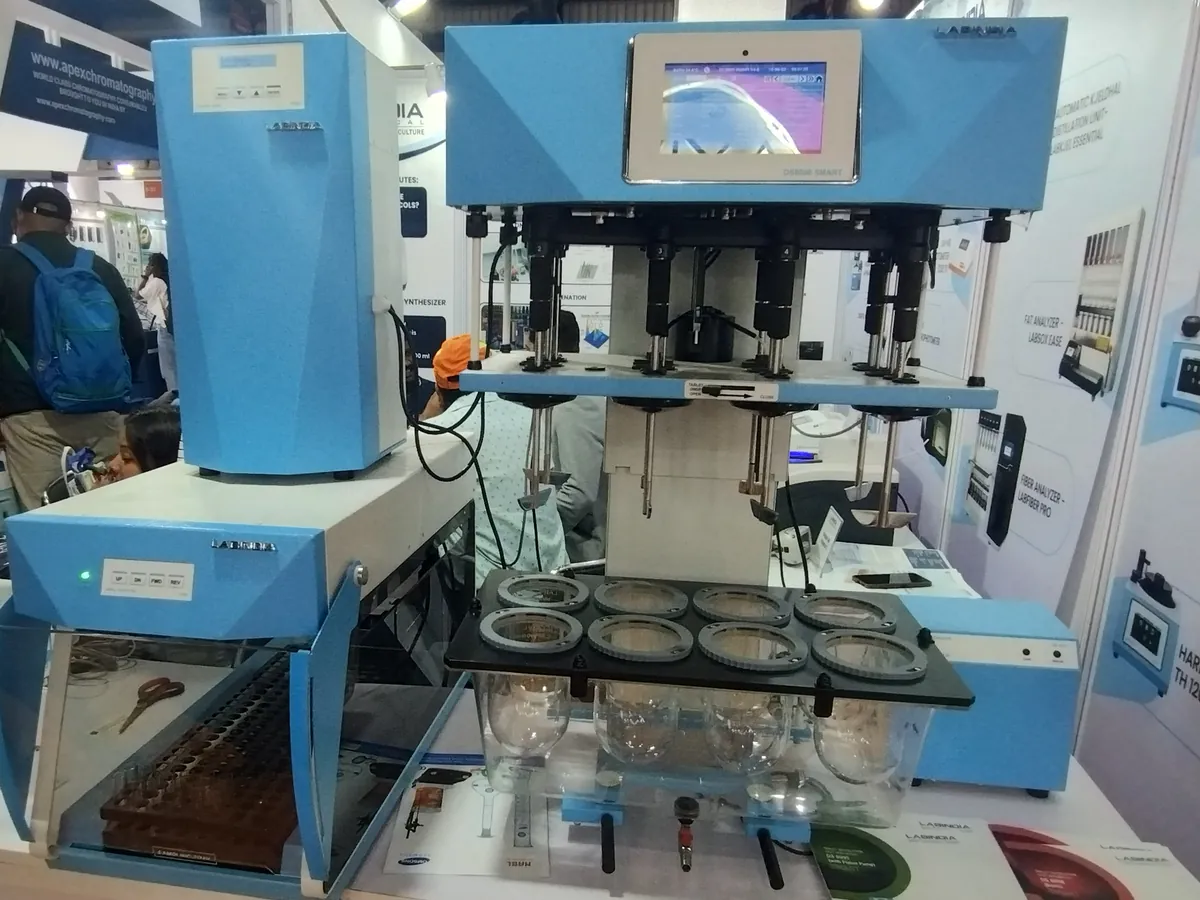
Dissolution Test Apparatus
Measures how fast and how completely the drug is released from a tablet or capsule into a liquid medium held at body temperature. A key quality and release test for oral solid dosage forms.
- Pharmaceutical
- Generic drug development
- Nutraceuticals and dietary supplements
- Veterinary medicines
- Contract research and testing labs
Follow your site SOP
This is a typical operating sequence for learning. Your instrument model and approved SOP take precedence.
STAGE 1
Before you start
- 1Check the instrument is within its calibration and PVT due date and has no 'out of order' label.
- 2Check the bath water level and cleanliness; top up with purified water if needed.
- 3Confirm the method: apparatus, medium, volume, speed, time points, sampling volume and filter.
- 4Inspect paddles or baskets for damage, coating chips, bent shafts or deformed mesh.
- 5Check that the vessels are clean, unscratched and seated correctly in the centring rings.
- Do not use a damaged paddle, bent shaft or dented basket; small defects change the flow pattern and the result.
- Keep the bench free of vibration sources such as shakers, sonicators and centrifuges.
STAGE 2
Medium preparation
- 1Prepare the medium exactly as stated, check its pH and record it.
- 2Deaerate the medium, for example by warming, filtering under vacuum and stirring under vacuum for a few minutes, or by another validated technique.
- 3Measure the volume accurately (by graduated cylinder or by weight) and transfer it gently into each vessel to avoid re-aerating it.
- 4Allow the medium to reach 37 ± 0.5 °C and check the temperature in every vessel before adding the units.
- Do not add medium with a large free fall or vigorous pouring; this puts air back into it.
STAGE 3
Running the test
- 1Lower the paddles or baskets to the qualified height and set the rotation speed.
- 2For the paddle method, drop one unit into each vessel, timing each drop so all start within the allowed window; for the basket method, load the unit into a dry basket before lowering it.
- 3Start the timer and watch the units: note coning, floating, sticking or capsule shells that do not open.
- 4At each time point withdraw the sample from the sampling zone within the allowed time tolerance (commonly ±2% of the stated time).
- 5Filter immediately through the validated filter, discarding the first few mL as established during method validation.
- 6Replace the withdrawn volume with fresh medium if the method requires, or correct the calculation for volume removed.
- Sample from the same position every time; sampling close to the paddle or wall gives biased results.
- If a unit sticks to the vessel wall or a capsule floats without a permitted sinker, record it and assess whether the result is valid.
STAGE 4
After the test
- 1Analyse the samples promptly or within their demonstrated stability period.
- 2Empty and rinse the vessels, paddles and baskets with purified water and dry them.
- 3Check the final medium temperature and record it.
- 4Complete the instrument usage log and switch off the heater if the bath will not be used again soon.
In LimsPulse · Calibration Management
Keep every Dissolution tester in control: usage logs, calibration and maintenance schedules, and automatic blocking of overdue instruments.