Petroleum testing
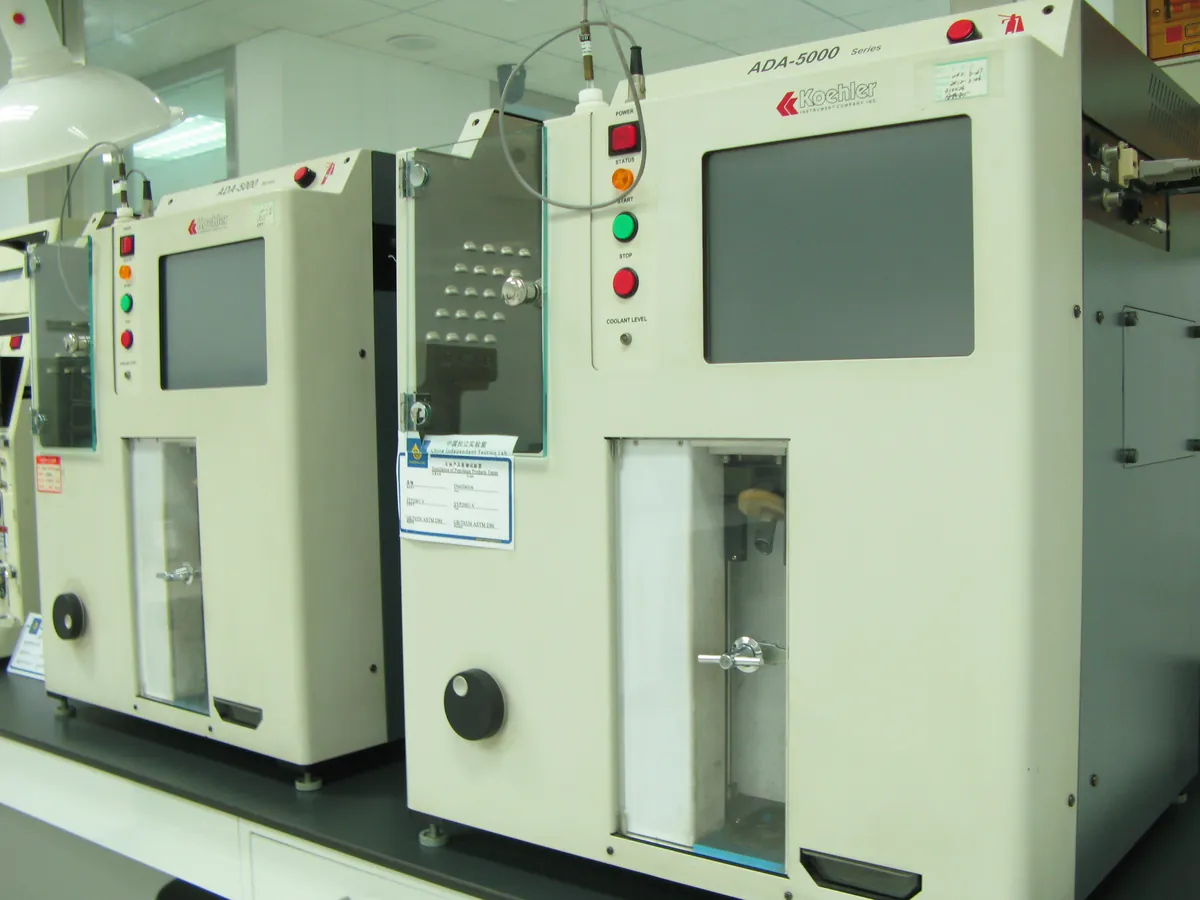
Atmospheric Distillation Apparatus
Distils 100 mL of a fuel from a flask at a controlled rate and records the vapour temperature as each volume is collected. The resulting curve (IBP, T10, T50, T90, FBP) describes how the fuel evaporates.
- Petroleum refining
- Fuel terminals and retail quality control
- Aviation fuel quality
- Solvent manufacture
- Independent testing laboratories
Follow your site SOP
This is a typical operating sequence for learning. Your instrument model and approved SOP take precedence.
STAGE 1
Before you start
- 1Check calibration status of the temperature sensor and barometer, and the most recent check-sample result.
- 2Set condenser and receiver temperatures for the sample group and let them stabilise.
- 3Cool volatile samples (petrol, naphtha) to the group temperature before opening, to avoid losing light ends.
- 4Choose the flask support board with the correct hole size and a clean, dry flask.
- A wet or cracked flask can break when heated and spill burning fuel; inspect each flask before use.
STAGE 2
Setting up
- 1Measure 100 mL of sample in the receiving cylinder at the specified temperature and transfer it to the flask, draining the cylinder fully.
- 2For samples that may bump, add a few clean boiling chips.
- 3Fit the temperature sensor through a tight stopper, centred in the neck, with the top of the bulb level with the bottom of the side-arm.
- 4Connect the side-arm to the condenser with a tight seal and place the (undried) receiving cylinder under the condenser outlet.
- Leaking stoppers or joints let vapour escape, increasing loss and creating a fire risk.
STAGE 3
Distilling
- 1Start heating. Record the IBP when the first drop falls from the condenser tip.
- 2Move the receiver so the condensate runs down its wall; keep a uniform rate of 4–5 mL per minute.
- 3Record temperatures at the required volumes (or let the analyser record them).
- 4Near 5 mL residue, make a final heat adjustment and record the FBP (maximum temperature) and the dry point if required.
- 5Switch off the heat and let the flask cool and drain into the receiver.
- Never leave the unit unattended while heating flammable samples.
- If decomposition is seen (white fumes, falling temperature), stop the test and report the decomposition point.
STAGE 4
After testing
- 1Read the total recovery in the receiver once drainage stops.
- 2When the flask is cool, pour the residue into a small graduated cylinder and read its volume.
- 3Calculate loss = 100 − (recovery + residue); apply barometric corrections to temperatures and loss as the method requires.
- 4Clean the flask with solvent, dry it and swab the condenser tube; record results with group and corrections.
- The flask and heater stay hot for a long time; use heat-resistant gloves and do not touch the heater area.
In LimsPulse · Calibration Management
Keep every Distillation unit in control: usage logs, calibration and maintenance schedules, and automatic blocking of overdue instruments.