Microbiology & sterility
Colony counter
Helps the analyst count colonies on agar plates and membranes accurately, either by a lit magnifier with a counting pen (manual) or by a camera and image analysis software (automated).
- Pharmaceutical
- Biotech
- Food & beverage
- Water testing
- Cosmetics
- Research laboratories
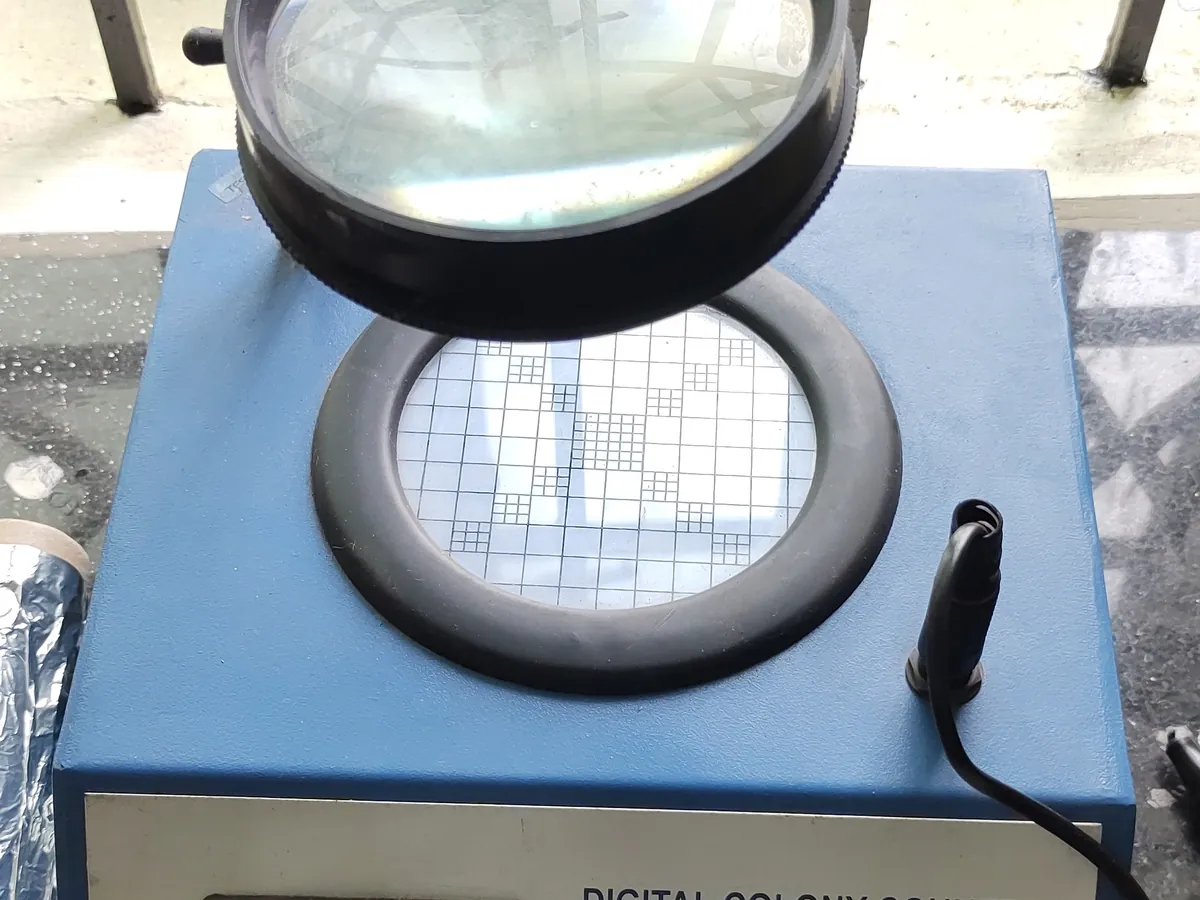
Follow your site SOP
This is a typical operating sequence for learning. Your instrument model and approved SOP take precedence.
STAGE 1
Before counting
- 1Check the counter is clean and, for automated systems, that the daily check with a reference plate or image has passed.
- 2Confirm the incubation time is complete and the plate identity matches the test record.
- Plates with growth may hold pathogens or spores; open them only in a biosafety cabinet if the SOP requires.
STAGE 2
Counting
- 1Place the plate on the stage and choose the lighting that gives the best contrast.
- 2Count by touching each colony with the pen, working in a pattern (e.g. sector by sector) so none is missed.
- 3For automated counters, capture the image, review the detected colonies, and add or remove marks for missed colonies or debris.
- 4Record the count, noting spreading colonies, confluent growth or plates too numerous to count (TNTC).
- Do not count bubbles, scratches or product particles. If in doubt, examine under a microscope.
STAGE 3
After counting
- 1Wipe the stage with disinfectant.
- 2Send plates for identification if required, then to the decontamination autoclave.
In LimsPulse · Calibration Management
Keep every Colony counter in control: usage logs, calibration and maintenance schedules, and automatic blocking of overdue instruments.