Bioanalytical
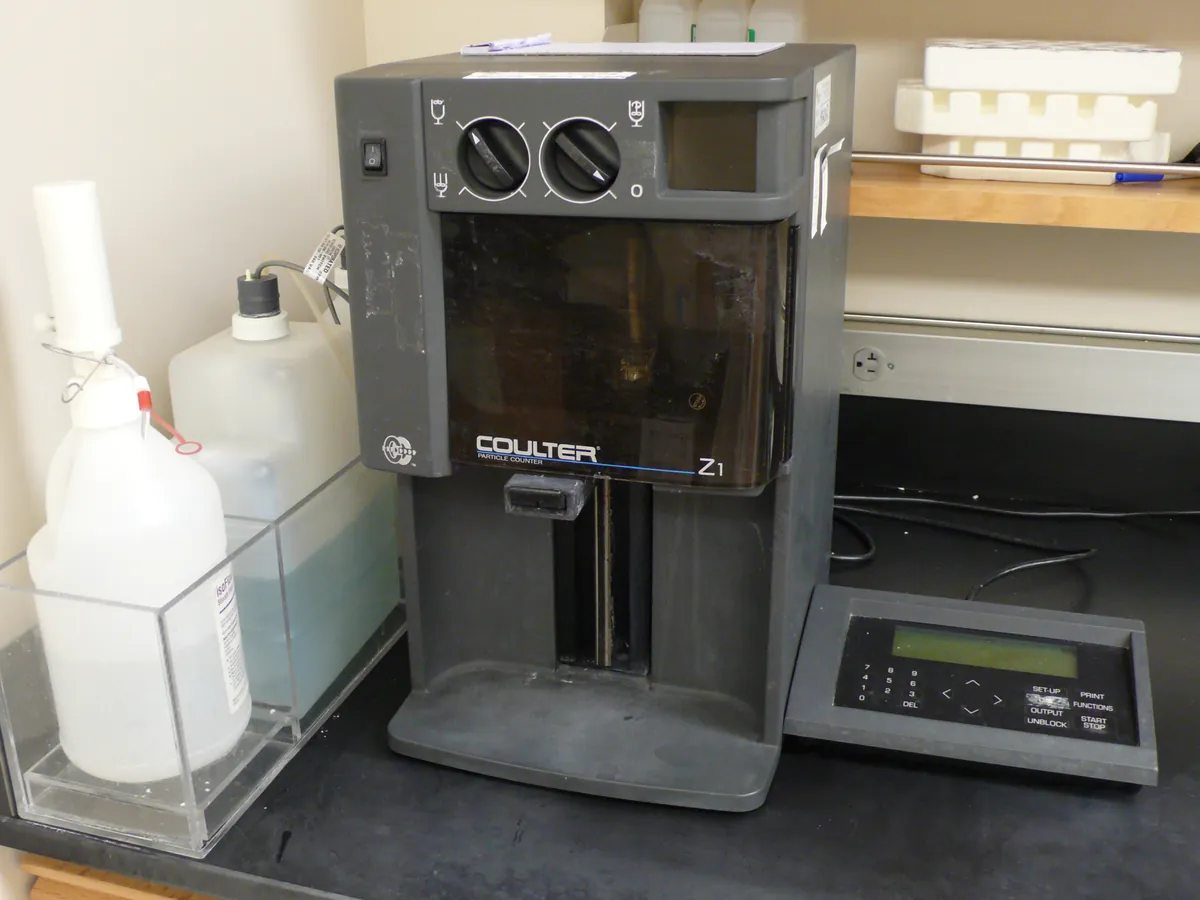
Automated cell counter
Counts cells and measures their viability automatically, usually by imaging a stained sample in a disposable or reusable counting chamber. It replaces manual haemocytometer counting for routine cell culture and bioprocess work.
- Biotechnology
- Biopharmaceutical
- Cell and gene therapy
- Academic research
- Vaccine manufacture
- Regenerative medicine
Follow your site SOP
This is a typical operating sequence for learning. Your instrument model and approved SOP take precedence.
STAGE 1
Before you start
- 1Check the counter is within its bead verification due date.
- 2Select the validated protocol for the cell type (stain, dilution factor, size gates).
- 3Prepare stain and check it is in date and free of precipitate; filter trypan blue if crystals are present.
- Handle cell samples in a biosafety cabinet as required by your site biosafety rules.
STAGE 2
Counting
- 1Mix the cell suspension gently but thoroughly (pipette up and down or invert) just before sampling.
- 2Mix sample and stain in the ratio set in the protocol.
- 3Load the chamber at once and insert it in the counter.
- 4Run the count within a few minutes of staining.
- 5Review the image overlay to check that cells, clumps and debris are classified sensibly.
- 6Repeat counts as required (often two or three) and report the mean.
- Do not leave cells in trypan blue for long; viability falls over time and dead counts rise.
STAGE 3
Shutdown
- 1Discard disposable slides into biological waste or clean reusable chambers as directed.
- 2Export or archive results and images.
- 3Wipe the slide port with a lint-free cloth and suitable disinfectant.
In LimsPulse · Calibration Management
Keep every Cell counter in control: usage logs, calibration and maintenance schedules, and automatic blocking of overdue instruments.