Analytical balance
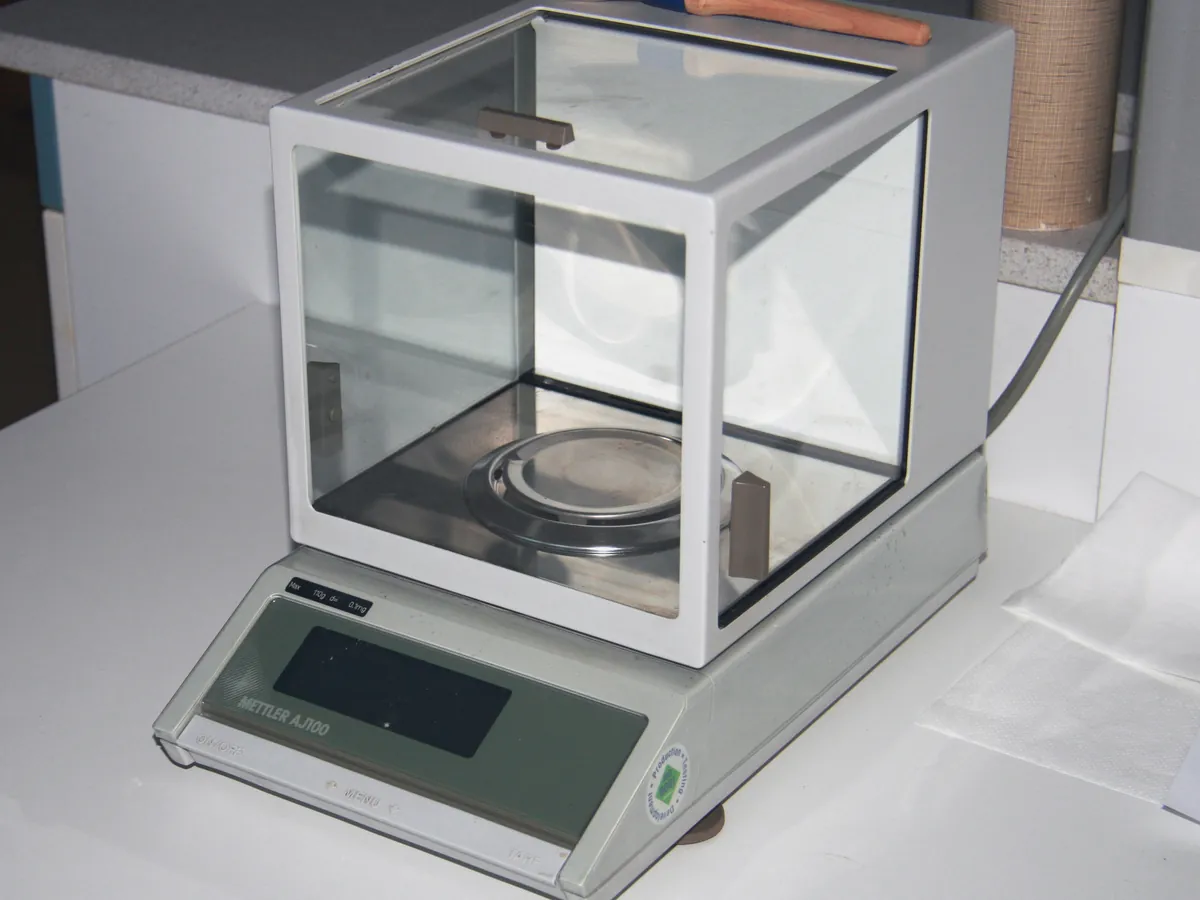
Measures the mass of a sample very precisely, usually to 0.1 mg or 0.01 mg. Almost every quantitative test in a QC lab starts with a weighing, so the balance is the most used instrument in the lab.
- Pharmaceutical
- Biotech
- Chemicals
- Food & beverage
- Academic research
- Cosmetics
How Analytical balance works
Most analytical balances work on electromagnetic force restoration (EMFR). The load on the pan pushes a lever down; a position sensor detects the movement and the electronics drive a current through a coil in a magnetic field. The coil produces an upward force that brings the pan back to its zero position. The current needed is proportional to the weight on the pan.
The path of a sample
- 01
Load
The sample is placed on the weighing pan inside the draught shield.
- 02
Displacement
The pan and lever move down very slightly under the weight.
- 03
Position sensor
An optical sensor detects the movement away from the zero position.
- 04
Force restoration
The control circuit increases the coil current until the magnetic force returns the pan to zero.
- 05
Conversion
The coil current is measured, converted to mass using the stored calibration, and filtered for stability.
- 06
Display & record
A stable reading is shown, printed or sent to the LIMS with date, time and balance ID.
Main parts and what they do
Weighing pan
Stainless-steel pan that carries the sample. Some balances use a grid pan to reduce air movement.
Draught shield
Glass doors around the pan that stop air currents disturbing the reading.
Weighing cell (EMFR)
Lever, coil, magnet and position sensor that measure the force on the pan.
Internal calibration weight
Built-in weight that the balance loads automatically to adjust its sensitivity (often called internal or auto calibration).
Levelling bubble and feet
Show and adjust the balance so it stands perfectly level. A tilted balance reads low.
Display and keypad
Shows the reading and gives access to tare, zero, units and calibration functions.
Data interface
USB, RS-232 or network link to a printer or LIMS so weights are recorded directly without manual transcription.
Anti-vibration table
Heavy stone or special table that isolates the balance from building vibration.
Terms every analyst should know
Readability (d)
The smallest step the display shows, for example 0.1 mg. It is not the same as accuracy.
Repeatability
How closely repeated weighings of the same object agree. Expressed as a standard deviation. It limits how small a sample you can weigh.
Minimum weight
The smallest net sample mass that can be weighed while still meeting the required accuracy (0.10% in USP <41>).
Eccentricity
The change in reading when the same weight is placed off-centre on the pan.
Linearity
How well the balance reads true across its whole range, not only at the calibration point.
Buoyancy
Air pushes up on every object. Balances are calibrated with steel weights, so samples of very different density read slightly differently. This is usually ignored in routine QC but matters for calibration of weights.
Keep every Analytical balance in control: usage logs, calibration and maintenance schedules, and automatic blocking of overdue instruments.