Physical testing
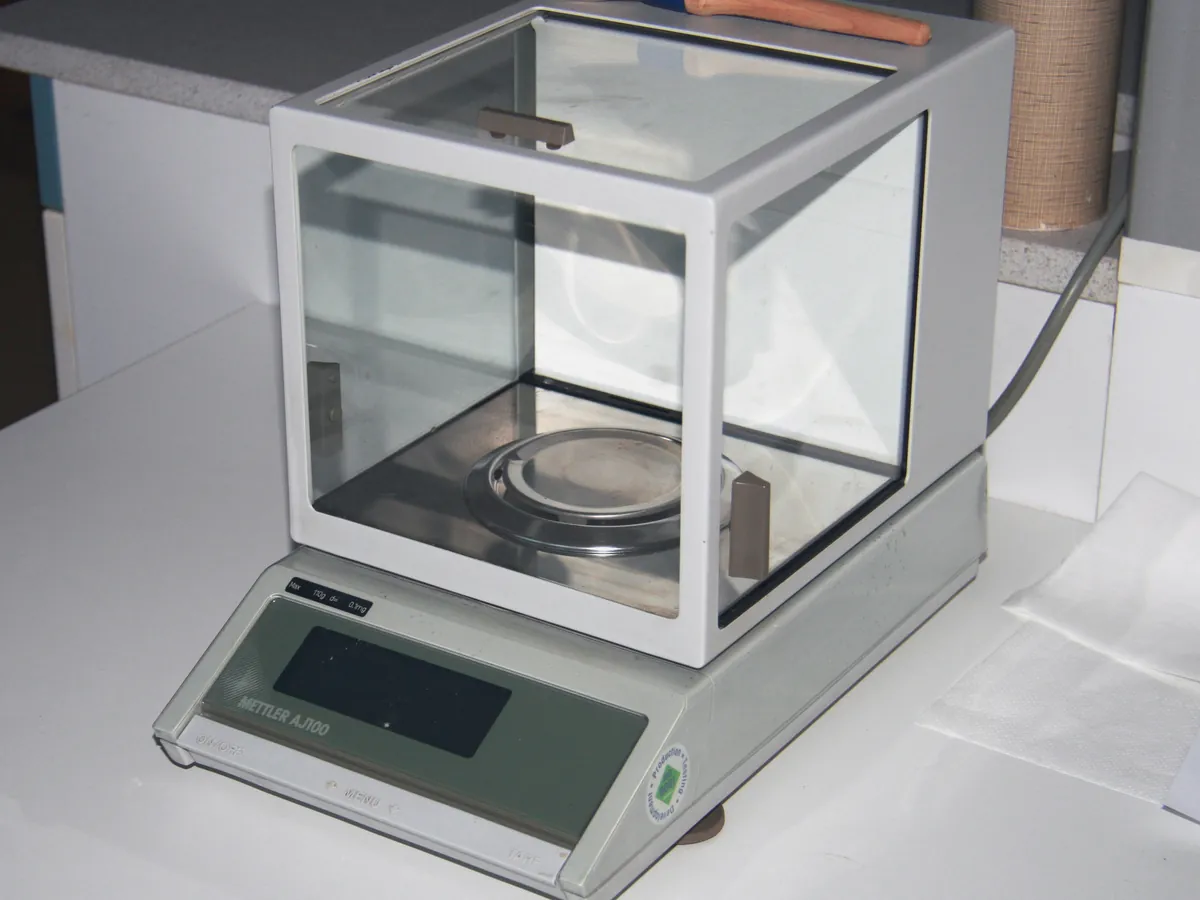
Analytical balance
Measures the mass of a sample very precisely, usually to 0.1 mg or 0.01 mg. Almost every quantitative test in a QC lab starts with a weighing, so the balance is the most used instrument in the lab.
- Pharmaceutical
- Biotech
- Chemicals
- Food & beverage
- Academic research
- Cosmetics
Follow your site SOP
This is a typical operating sequence for learning. Your instrument model and approved SOP take precedence.
STAGE 1
Before you start
- 1Check the calibration status label and that today's daily check has been done and recorded.
- 2Check the levelling bubble is centred. If not, level the balance and record it.
- 3Make sure the balance has been switched on (or on standby) long enough to warm up, commonly at least 30 minutes, or as the manufacturer states.
- 4Clean the pan and the chamber with a soft brush.
- Do not use a balance that has been moved, is not level or is past its calibration due date.
STAGE 2
Weighing
- 1Close the draught shield doors and press zero.
- 2Place a clean, dry weighing container (boat, butter paper or weighing bottle) in the centre of the pan and press tare.
- 3Add the sample with a clean spatula, keeping the doors closed as much as possible.
- 4Close the doors and wait for the stability indicator before recording the reading.
- 5Print the weight or send it to the LIMS; do not write it from memory.
- Never weigh a sample below the balance's minimum weight.
- Let hot or cold items reach room temperature first; warm objects read low because of air currents.
- Use an anti-static device for dry powders that cling to the container.
STAGE 3
Weighing by difference
- 1Weigh the closed weighing bottle containing the sample and record the mass.
- 2Transfer the required portion into the flask.
- 3Re-weigh the bottle. The difference between the two weights is the mass transferred.
- This method is preferred for hygroscopic samples and for transfers where powder may stick to the container.
STAGE 4
After use
- 1Remove the container and clean any spilled material from the pan and chamber.
- 2Close the doors and leave the balance on standby rather than switching it off.
- 3Complete the balance usage log.
- Clean potent or toxic powder spills immediately and as your safety procedure describes.
In LimsPulse · Calibration Management
Keep every Analytical balance in control: usage logs, calibration and maintenance schedules, and automatic blocking of overdue instruments.