Physical testing
Viscometer / rheometer
Measures how thick a liquid is, that is its resistance to flow (viscosity). Used for syrups, suspensions, gels, creams and polymer solutions.
- Pharmaceutical
- Cosmetics
- Food & beverage
- Paints & coatings
- Polymers
- Petrochemicals
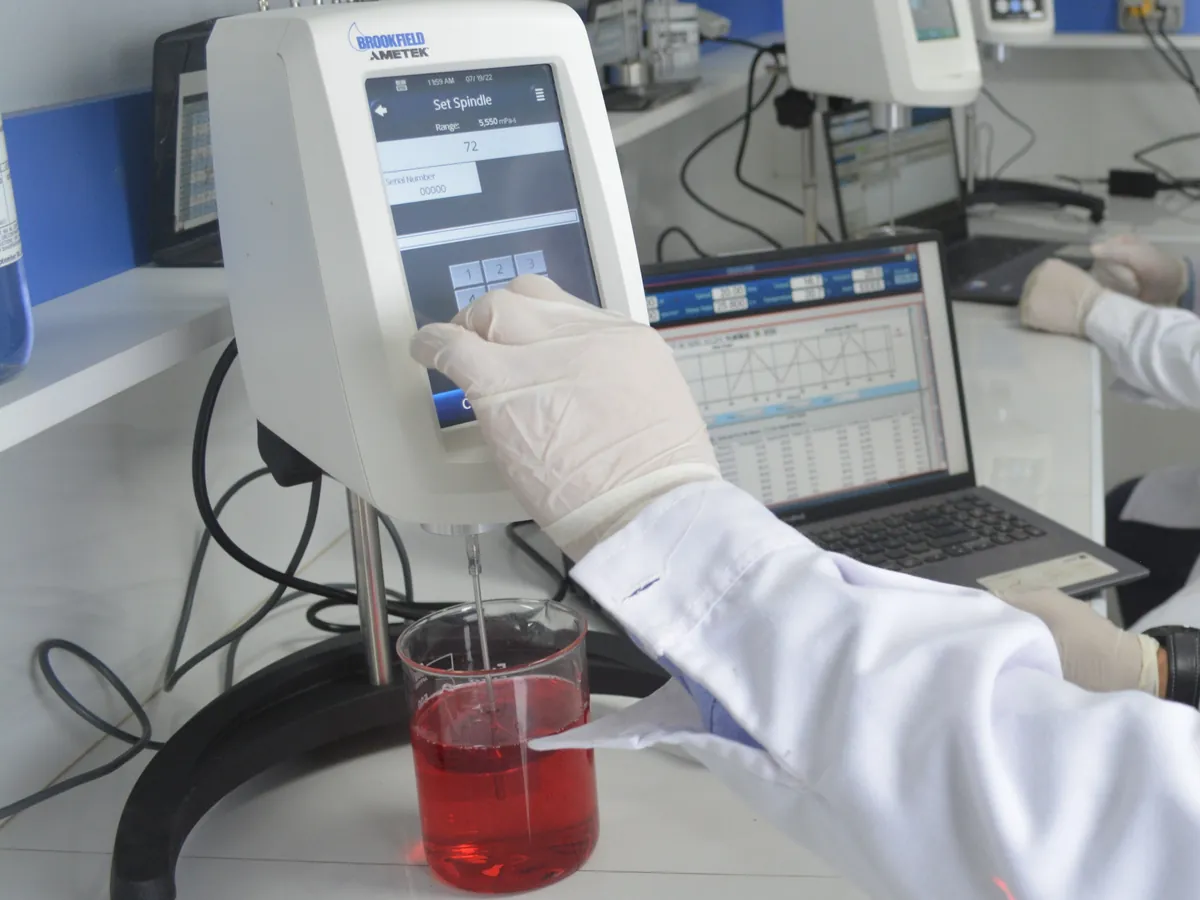
Follow your site SOP
This is a typical operating sequence for learning. Your instrument model and approved SOP take precedence.
STAGE 1
Before you start
- 1Check the calibration label and that the instrument is level (bubble centred).
- 2Switch on and perform auto-zero with no spindle attached, if the model requires it.
- 3Set the water bath to the test temperature and let it stabilise.
- 4Select the spindle and speed stated in the STP.
- Never attach or remove a spindle without supporting the coupling; bending the shaft damages the torque sensor.
STAGE 2
Measurement
- 1Fill the specified container with sample to the stated level and bring it to temperature.
- 2Immerse the spindle at an angle to avoid trapping air, then attach it and lower it to the immersion mark.
- 3Start rotation at the specified speed.
- 4Read the viscosity and % torque after the stated time (for example 1 minute) or when stable.
- 5Check the % torque is within the range your SOP allows. If not, change spindle or speed as the STP permits.
- 6Record viscosity, % torque, spindle, speed, temperature and reading time.
- Do not let the spindle touch the bottom or walls of the container.
- Avoid air bubbles under the spindle disc; they lower the reading.
- For non-Newtonian samples, keep pre-shearing (shaking, stirring) the same every time.
STAGE 3
After use
- 1Stop the motor, remove and clean the spindle with water or a suitable solvent, and dry it.
- 2Store spindles in their rack.
- 3Raise the head and complete the log.
- Never leave sample drying on a spindle; residue changes its geometry and weight.
In LimsPulse · Calibration Management
Keep every Viscometer in control: usage logs, calibration and maintenance schedules, and automatic blocking of overdue instruments.