Particle & solid-state
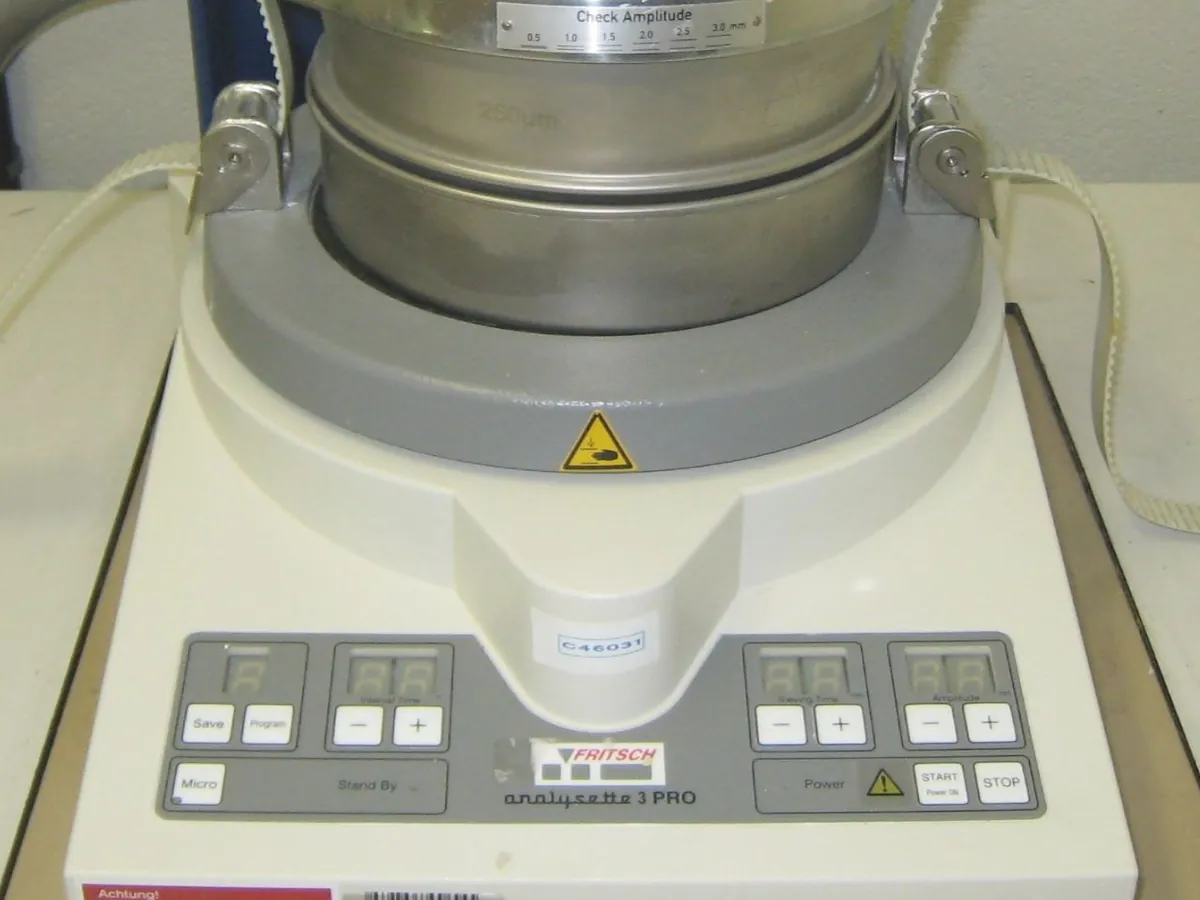
Sieve Shaker (Analytical Sieving)
Shakes a stack of test sieves so a powder or granule separates into size fractions. Weighing each sieve gives the particle size distribution by mass.
- Pharmaceutical
- Food & beverage
- Chemicals
- Mining and construction
- Agriculture
Follow your site SOP
This is a typical operating sequence for learning. Your instrument model and approved SOP take precedence.
STAGE 1
Preparation
- 1Check sieves are clean, dry and within their verification due date, and the shaker is within calibration.
- 2Inspect each mesh against the light for dents, holes or torn wires.
- 3Weigh each sieve and the pan (tare) on a calibrated balance.
- Never use a damaged sieve; even a small hole lets coarse particles through.
STAGE 2
Sieving
- 1Stack the sieves in order, largest aperture on top, pan at the bottom.
- 2Weigh the sample (commonly 25–100 g for 200 mm sieves, depending on bulk density) and place it on the top sieve.
- 3Clamp the stack and run the shaker at the stated amplitude and time.
- 4Weigh each sieve with its retained material.
- 5If the end-point has not been confirmed in validation, shake again for a short time and re-weigh.
- Overloading a sieve slows sieving and causes blinding; split the sample if needed.
STAGE 3
Cleaning
- 1Brush sieves gently from below with a soft brush.
- 2Clean fine-mesh sieves in an ultrasonic bath with a mild detergent if needed, then dry.
- 3Store sieves covered, away from damage.
- Do not push particles through the mesh with a brush or fingers; this stretches the wires.
In LimsPulse · Calibration Management
Keep every Sieve shaker in control: usage logs, calibration and maintenance schedules, and automatic blocking of overdue instruments.