Construction materials testing
Proctor Compaction Apparatus
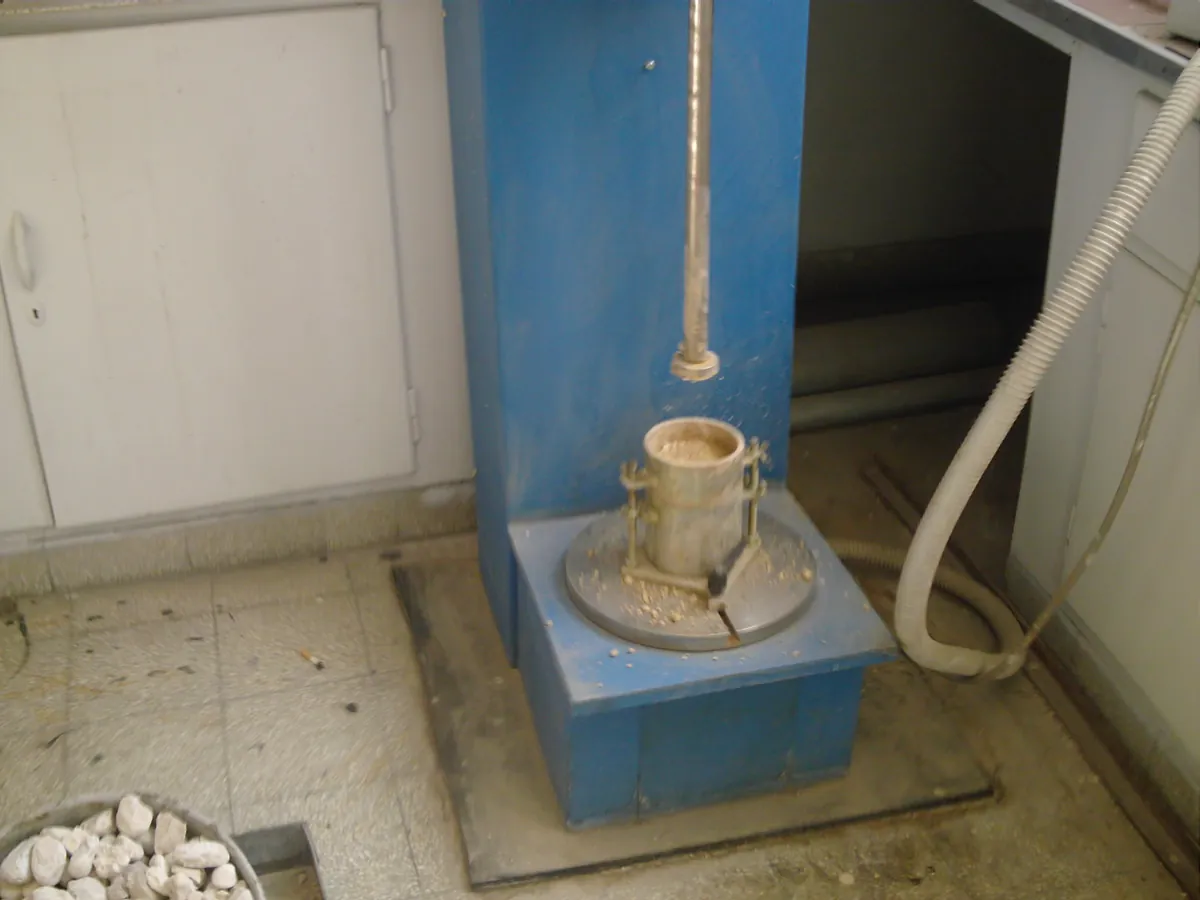
A cylindrical mould and a rammer of fixed mass and drop height used to compact soil at different water contents and find its maximum dry density (MDD) and optimum moisture content (OMC).
- Geotechnical testing
- Road and highway construction
- Railways and airports
- Dams and embankments
- Construction materials testing
Follow your site SOP
This is a typical operating sequence for learning. Your instrument model and approved SOP take precedence.
STAGE 1
Before you start
- 1Check the rammer mass and drop height check and mould volume are in date.
- 2Weigh the empty mould with base plate.
- 3Prepare about 5 kg (1000 cm³ mould) of soil passing the specified sieve and air-dried.
- Use the correct rammer for the test: light and heavy rammers look similar.
STAGE 2
Compacting
- 1Mix the soil with a measured amount of water (e.g. starting about 4–6% below the expected OMC for sandy soils, more for clays).
- 2Clamp the mould and collar to the base on a solid floor or concrete block.
- 3Place the first layer and give 25 blows from the full drop height, moving the rammer evenly over the surface.
- 4Repeat for the remaining layers so the final layer extends just into the collar.
- Hold the guide vertical and let the rammer fall freely; do not push it down.
STAGE 3
Weighing and moisture
- 1Remove the collar, trim the soil level with a straight edge and weigh mould + soil.
- 2Extrude the soil and take a moisture sample from the centre.
- 3Break up the soil, add more water and repeat for at least five points spanning the peak.
- 4Oven-dry moisture samples at 105–110 °C and calculate water content.
STAGE 4
After testing
- 1Calculate bulk and dry density for each point and plot the compaction curve.
- 2Read MDD and OMC from the peak.
- 3Clean the mould, collar and rammer face.
In LimsPulse · Calibration Management
Keep every Proctor apparatus in control: usage logs, calibration and maintenance schedules, and automatic blocking of overdue instruments.