Materials & polymer testing
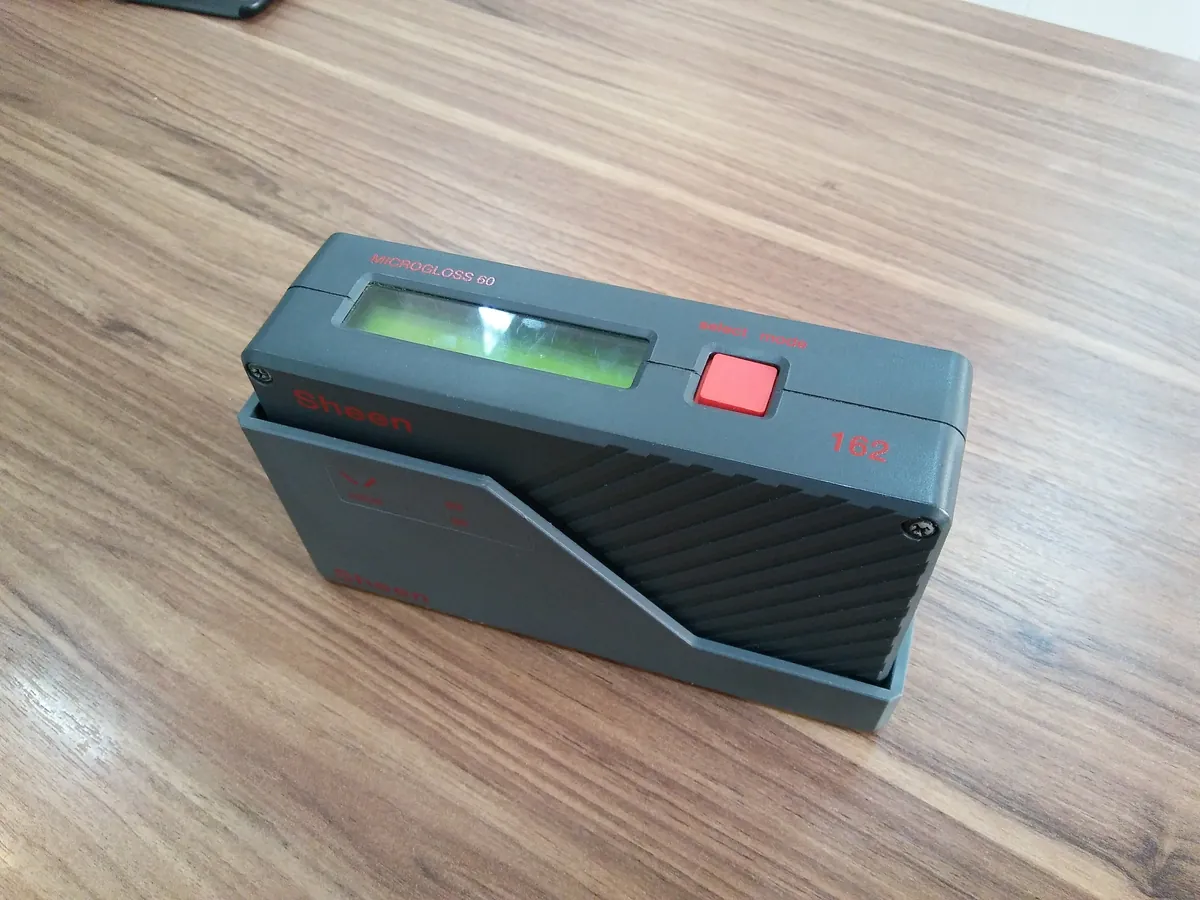
Gloss meter
Shines a beam of light onto a surface at a fixed angle and measures how much is reflected in the mirror direction. The result is given in gloss units (GU), relative to a polished black glass standard.
- Paints & coatings
- Polymers & plastics
- Printing & packaging
- Automotive
- Furniture
- Cosmetics
Follow your site SOP
This is a typical operating sequence for learning. Your instrument model and approved SOP take precedence.
STAGE 1
Before you start
- 1Check the calibration due date of the meter and its calibration tile.
- 2Clean the calibration tile with a lint-free lens tissue and check that its stated values match the instrument settings.
- 3Calibrate (standardise) the meter on the tile at the start of each session and when the temperature changes.
- 4Check with a mid-gloss check tile if one is available.
- Never touch the glass surface of the calibration tile with fingers; grease changes its gloss.
STAGE 2
Measurement
- 1Use test panels that are flat, clean, fully cured and conditioned as the method requires.
- 2Measure at 60° first and choose the geometry from the reading.
- 3Take at least three readings at different places, and in the direction of any brush marks or texture as the method says.
- 4Record the mean, the range and the geometry, for example '60° gloss 85 GU'.
- Make sure no light leaks under the meter; it must sit flat on the panel.
STAGE 3
After use
- 1Return the calibration tile to its holder and close it.
- 2Clean the measuring aperture with a soft brush or air puffer.
- 3Save or print results and record use in the log.
In LimsPulse · Calibration Management
Keep every Gloss meter in control: usage logs, calibration and maintenance schedules, and automatic blocking of overdue instruments.