Thermal analysis & ovens
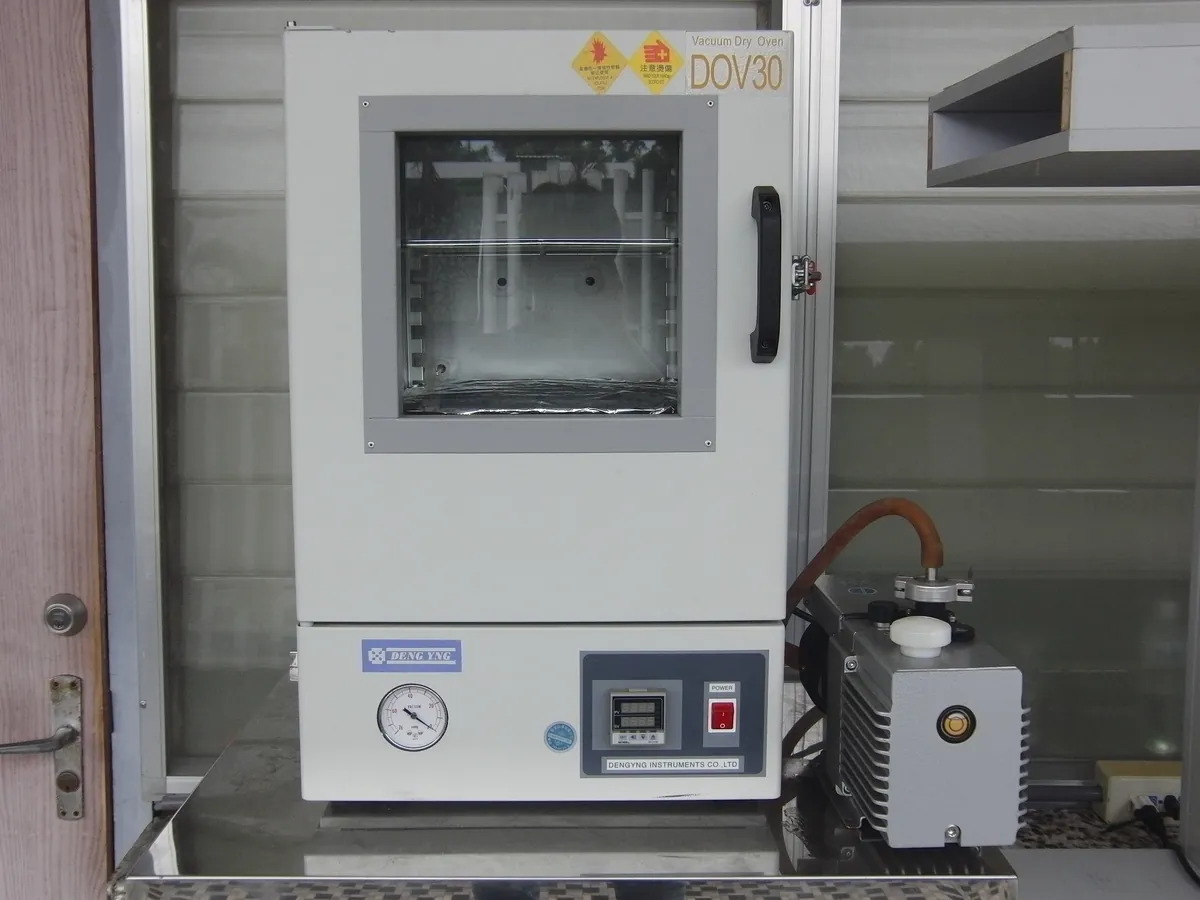
Vacuum Oven
A sealed, heated chamber connected to a vacuum pump. Lowering the pressure lets samples dry at a lower temperature, which suits heat-sensitive materials and LOD tests done 'in vacuum'.
- Pharmaceutical
- Electronics
- Chemicals
- Food
- Research labs
Follow your site SOP
This is a typical operating sequence for learning. Your instrument model and approved SOP take precedence.
STAGE 1
Before you start
- 1Check calibration status of the temperature and vacuum gauge.
- 2Check the door gasket is clean and undamaged.
- 3Check the pump oil level and cold trap, if fitted.
STAGE 2
Drying
- 1Set and stabilise the temperature.
- 2Place samples in tared weighing bottles with the stoppers removed and laid beside them.
- 3Close the door, open the vacuum valve and start the pump.
- 4Confirm the pressure reaches the value in the method, then close the valve if required and start timing.
- Apply vacuum gradually so fine powders are not blown out of the bottles.
STAGE 3
Ending
- 1Release the vacuum slowly through the vent valve (with dry air or nitrogen if specified).
- 2Close the weighing bottles inside the oven, transfer to a desiccator and cool.
- 3Weigh and record results. Switch off the pump and drain the cold trap.
- Never open the door while the chamber is under vacuum.
In LimsPulse · Calibration Management
Keep every Vacuum oven in control: usage logs, calibration and maintenance schedules, and automatic blocking of overdue instruments.